Big-box DIY epoxy kits promise a weekend project and a showroom-looking floor for a few hundred dollars. Some of them even deliver that — for a while. What they don't advertise is that the material in the kit is rarely the reason a DIY garage floor fails; it's almost always the prep method and the topcoat, and both matter more in Denver than almost anywhere else. This guide breaks down what DIY kits leave out, why that gap shows up faster in Colorado's climate, and when DIY genuinely is the right call for a Denver garage floor epoxy project.
What DIY Kits Don't Tell You About Surface Prep
Every DIY epoxy kit box shows the same finished-floor photo and a short prep instruction — clean, etch, coat. What it doesn't explain is that "etch" and "properly prepped" are not the same thing, and the gap between them is the single biggest predictor of whether a DIY floor lasts three years or ten.
Professional installs start with diamond grinding, which mechanically opens the concrete's surface to a specific profile and removes contamination, old sealers, and oil staining in the process. DIY kits rely on a chemical acid etch instead — sold in the kit as a simple mix-and-mop step, because it doesn't require equipment most homeowners own. The two methods look similar on a freshly coated floor. They perform very differently under stress a year or two later, and by the time the difference shows up as peeling or delamination, the damage isn't a simple touch-up — the whole coating usually has to come off before a proper redo can go down.
Why Acid Etch Prep Fails in Colorado's Climate
Acid etching creates a shallow, chemically-roughened surface — enough bond for a floor that sees mild conditions and light use. Denver's climate is not mild conditions. The region sees 150+ freeze-thaw cycles a year, and that repeated expansion and contraction stresses the bond between coating and slab constantly. A shallow acid-etch bond simply doesn't have the mechanical grip to survive that cycling long-term the way a diamond-ground profile does.
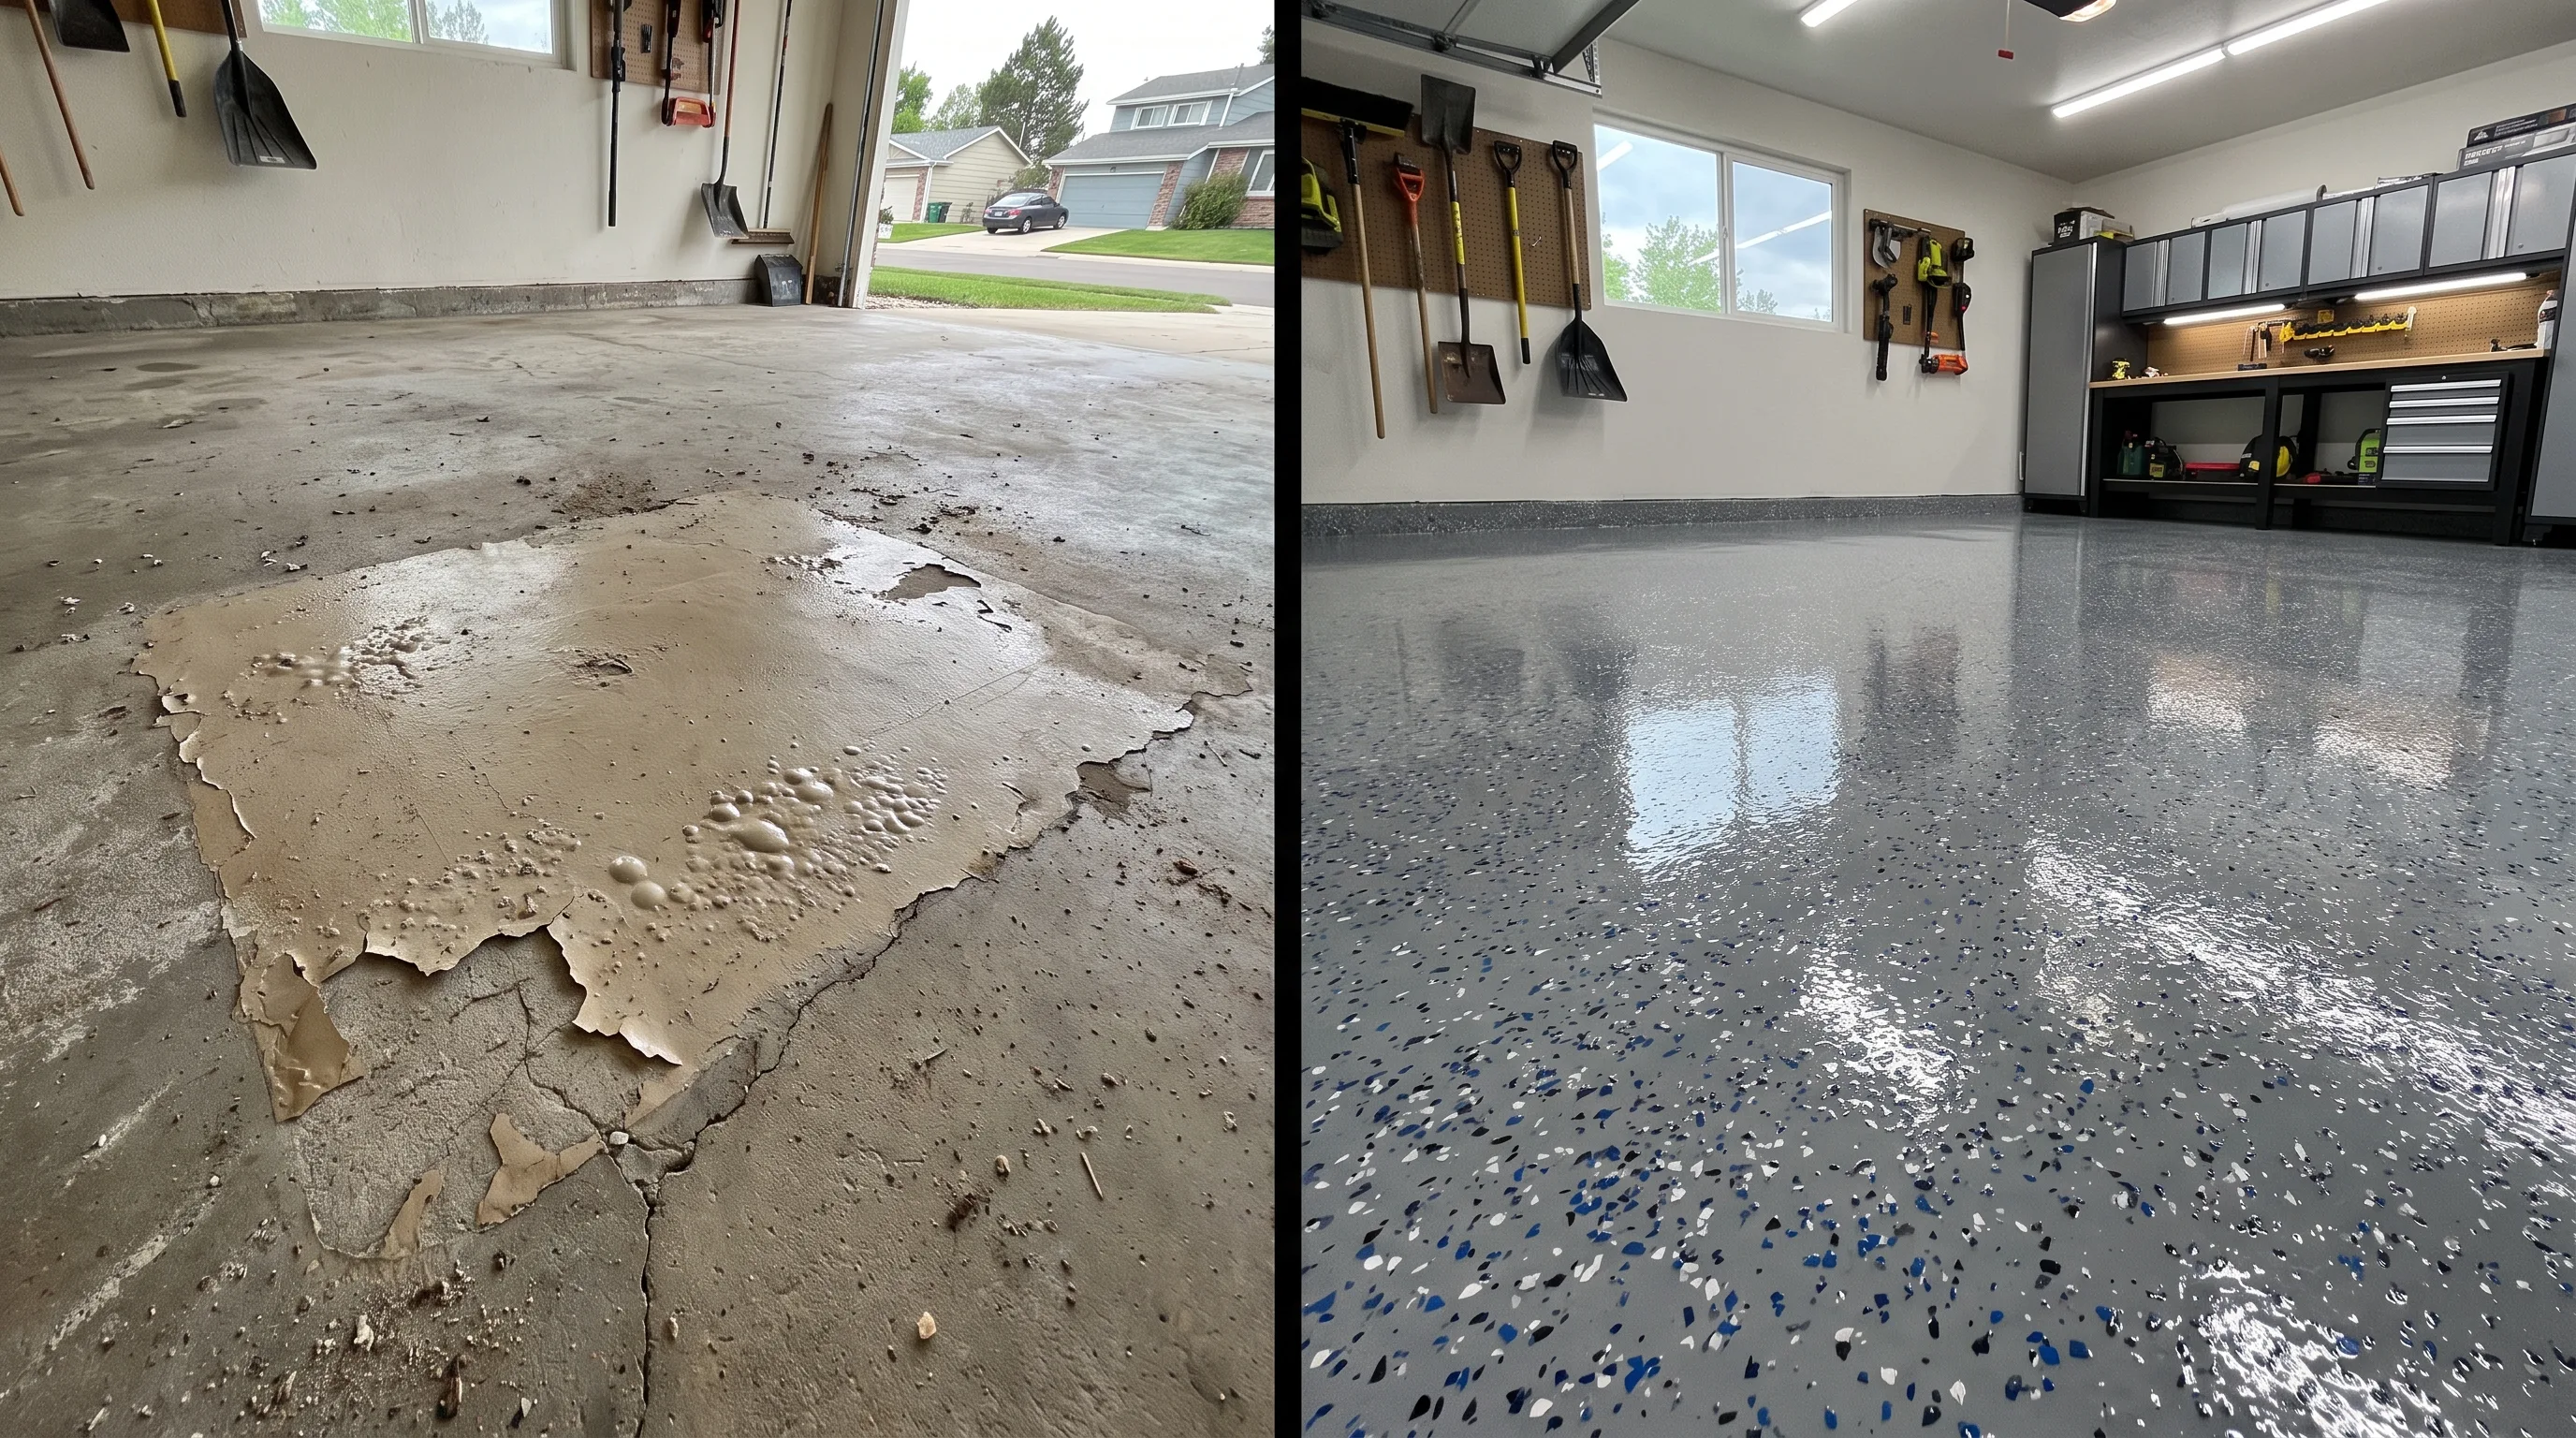
The same climate, two different results — the difference is prep method and topcoat, not the epoxy label.
Cost Comparison: DIY Kit vs Professional Install
DIY looks like the clear budget winner at first glance — until you factor in what happens when it fails, which is common enough that "how do I remove failed DIY epoxy" is a search almost every flooring contractor in Denver gets asked regularly.
| DIY Kit | Professional Install | |
|---|---|---|
| Material/Labor Cost2-car garage | $200 – $500 | $1,800 – $3,200 |
| Surface Prep | Acid etch (chemical) | Diamond grind (mechanical) |
| Topcoat | Standard epoxy, not UV-stable | Aliphatic polyaspartic, UV-stable |
| Typical Lifespan | 1-3 years before peeling/yellowing | 15-20 years |
| Redo Cost If It Fails | Full removal + professional redo, often $2,500+ | N/A |
Once you account for the real possibility of a failed DIY floor needing a full professional strip-and-redo — which costs more than a straightforward professional install from the start, since removing a failed coating is its own labor-intensive step — the DIY savings shrink or disappear entirely for anyone who ends up needing a redo.
The honest tradeoff: DIY isn't a scam or a bad product — it's a system built for lighter-duty conditions than Denver's climate delivers. The savings are real if the floor holds up; the risk is that a meaningful share of DIY installs in this climate specifically don't.
When DIY Actually Makes Sense
There are legitimate scenarios where a DIY kit is a reasonable choice, and being straightforward about them is more useful than a blanket "always hire a pro" line.
- Low-stakes, low-traffic spaces. A storage shed or workshop floor that isn't exposed to vehicle traffic or direct sun tolerates a DIY system's shorter lifespan without much consequence.
- Renters or short-term ownership. If you don't expect to be in the home long enough to see the floor fail, the lower upfront cost may outweigh the durability tradeoff.
- You genuinely understand and can execute proper prep. A homeowner with access to real diamond grinding equipment and the knowledge to run a moisture test can bridge much of the gap DIY kits leave — though at that point, the equipment rental cost narrows the savings versus hiring it out.
For a primary residence garage that sees daily vehicle traffic and any direct or indirect sun exposure — which describes most Denver garages — the math consistently favors a professional install with proper prep and a polyaspartic topcoat.
Common DIY Mistakes That Cause Early Failure
Beyond the fundamental prep and topcoat gap, a handful of specific mistakes show up repeatedly in DIY installs we're eventually called to assess or redo.
- Skipping the moisture test entirely. Most DIY kits don't mention calcium chloride vapor testing at all — coating over a slab with elevated moisture traps that moisture underneath, causing bubbling or full delamination, sometimes within weeks.
- Rushing cure times between coats. Denver's altitude changes cure rate and pot life for every coating layer. DIY instructions are written for generic sea-level conditions, and moving to the next coat too early — because the surface looks dry — weakens the bond between layers.
- Coating over hairline cracks without repair. A crack left unaddressed telegraphs through every layer above it and widens with each freeze-thaw cycle, eventually cracking the topcoat too.
- Underestimating ventilation and temperature requirements. Garage temperature swings between a cold morning and a warm afternoon affect both application and cure — DIY kits rarely account for this variability.
- Applying too thin a coat to stretch the kit further. Kits are sized for a specific square footage; spreading the material thinner to cover a larger garage compromises film thickness and durability across the whole floor.
None of these mistakes are unique to inexperienced installers — they're the same failure points a professional crew is specifically trained to avoid, which is a meaningful part of what the labor cost in a professional install actually pays for.