An epoxy garage floor in Denver is a one-time purchase for most homeowners, which means the installation process matters more here than almost anywhere else in the country. Get the prep, the system, or the topcoat wrong and Colorado's altitude, UV, and freeze-thaw cycling will find the mistake within a season. This guide walks through exactly what goes into a proper install, what to expect on install day, and what it costs by garage size — the same process ProEpoxy runs on every Denver garage floor epoxy project.
What Goes Into a Proper Epoxy Garage Floor Install
A correctly installed epoxy garage floor is a system, not a single product. It's a stack of four layers — moisture barrier or primer, epoxy base coat, optional decorative flake, and a UV-stable topcoat — each doing a specific job. Skip a layer or substitute a cheaper product at any stage and the whole system is only as strong as that weak point. In Denver specifically, two of those layers carry more weight than they would at sea level: the primer has to account for slab moisture coming up through Colorado's clay-heavy soils, and the topcoat has to survive roughly 25% more UV exposure than a coating at sea level.
This is also where installer experience shows up most. A contractor who installs the same system in Phoenix and Denver without adjusting for altitude is setting the floor up to fail early — cure windows, primer selection, and topcoat chemistry all need to be calibrated for Colorado's elevation and climate swings, not applied from a generic national playbook.
Surface Prep: Diamond Grind vs Acid Etch
Surface prep is the single biggest factor in how long an epoxy garage floor lasts, and it's also where corner-cutting is easiest to hide under a fresh coat of paint. There are two ways to prepare a slab for epoxy: acid etching and diamond grinding. Only one of them belongs on a Colorado garage floor.
Acid etching uses a mild acid solution to roughen the surface chemically. It's fast and cheap, which is exactly why some lower-cost quotes rely on it. The problem is that acid etching only opens the very top of the concrete's surface — it doesn't remove oil staining, laitance, or old coatings, and the bond it creates is shallower and weaker than what freeze-thaw cycling demands. In a climate with 150+ annual freeze-thaw cycles, an acid-etched floor is far more likely to delaminate in sheets within two to three years.
Diamond grinding mechanically abrades the slab to a Concrete Surface Profile (CSP) of 2 to 3 — deep enough to remove contamination and create real mechanical tooth for the epoxy to grip. This is the only prep method ProEpoxy uses on Denver garage floors, because it's the only one that reliably survives the region's freeze-thaw stress over a 15-20 year system life.
How to tell which prep you're getting: Ask directly whether your quote includes diamond grinding or acid etching. If the quote doesn't specify, ask — a floor that skips diamond grinding is the most common reason Denver epoxy jobs fail early.
Install Day Timeline, Start to Finish
Here's what a standard two-car garage install actually looks like from arrival to drive-on ready, run over one to two days depending on prep needs and system selected.
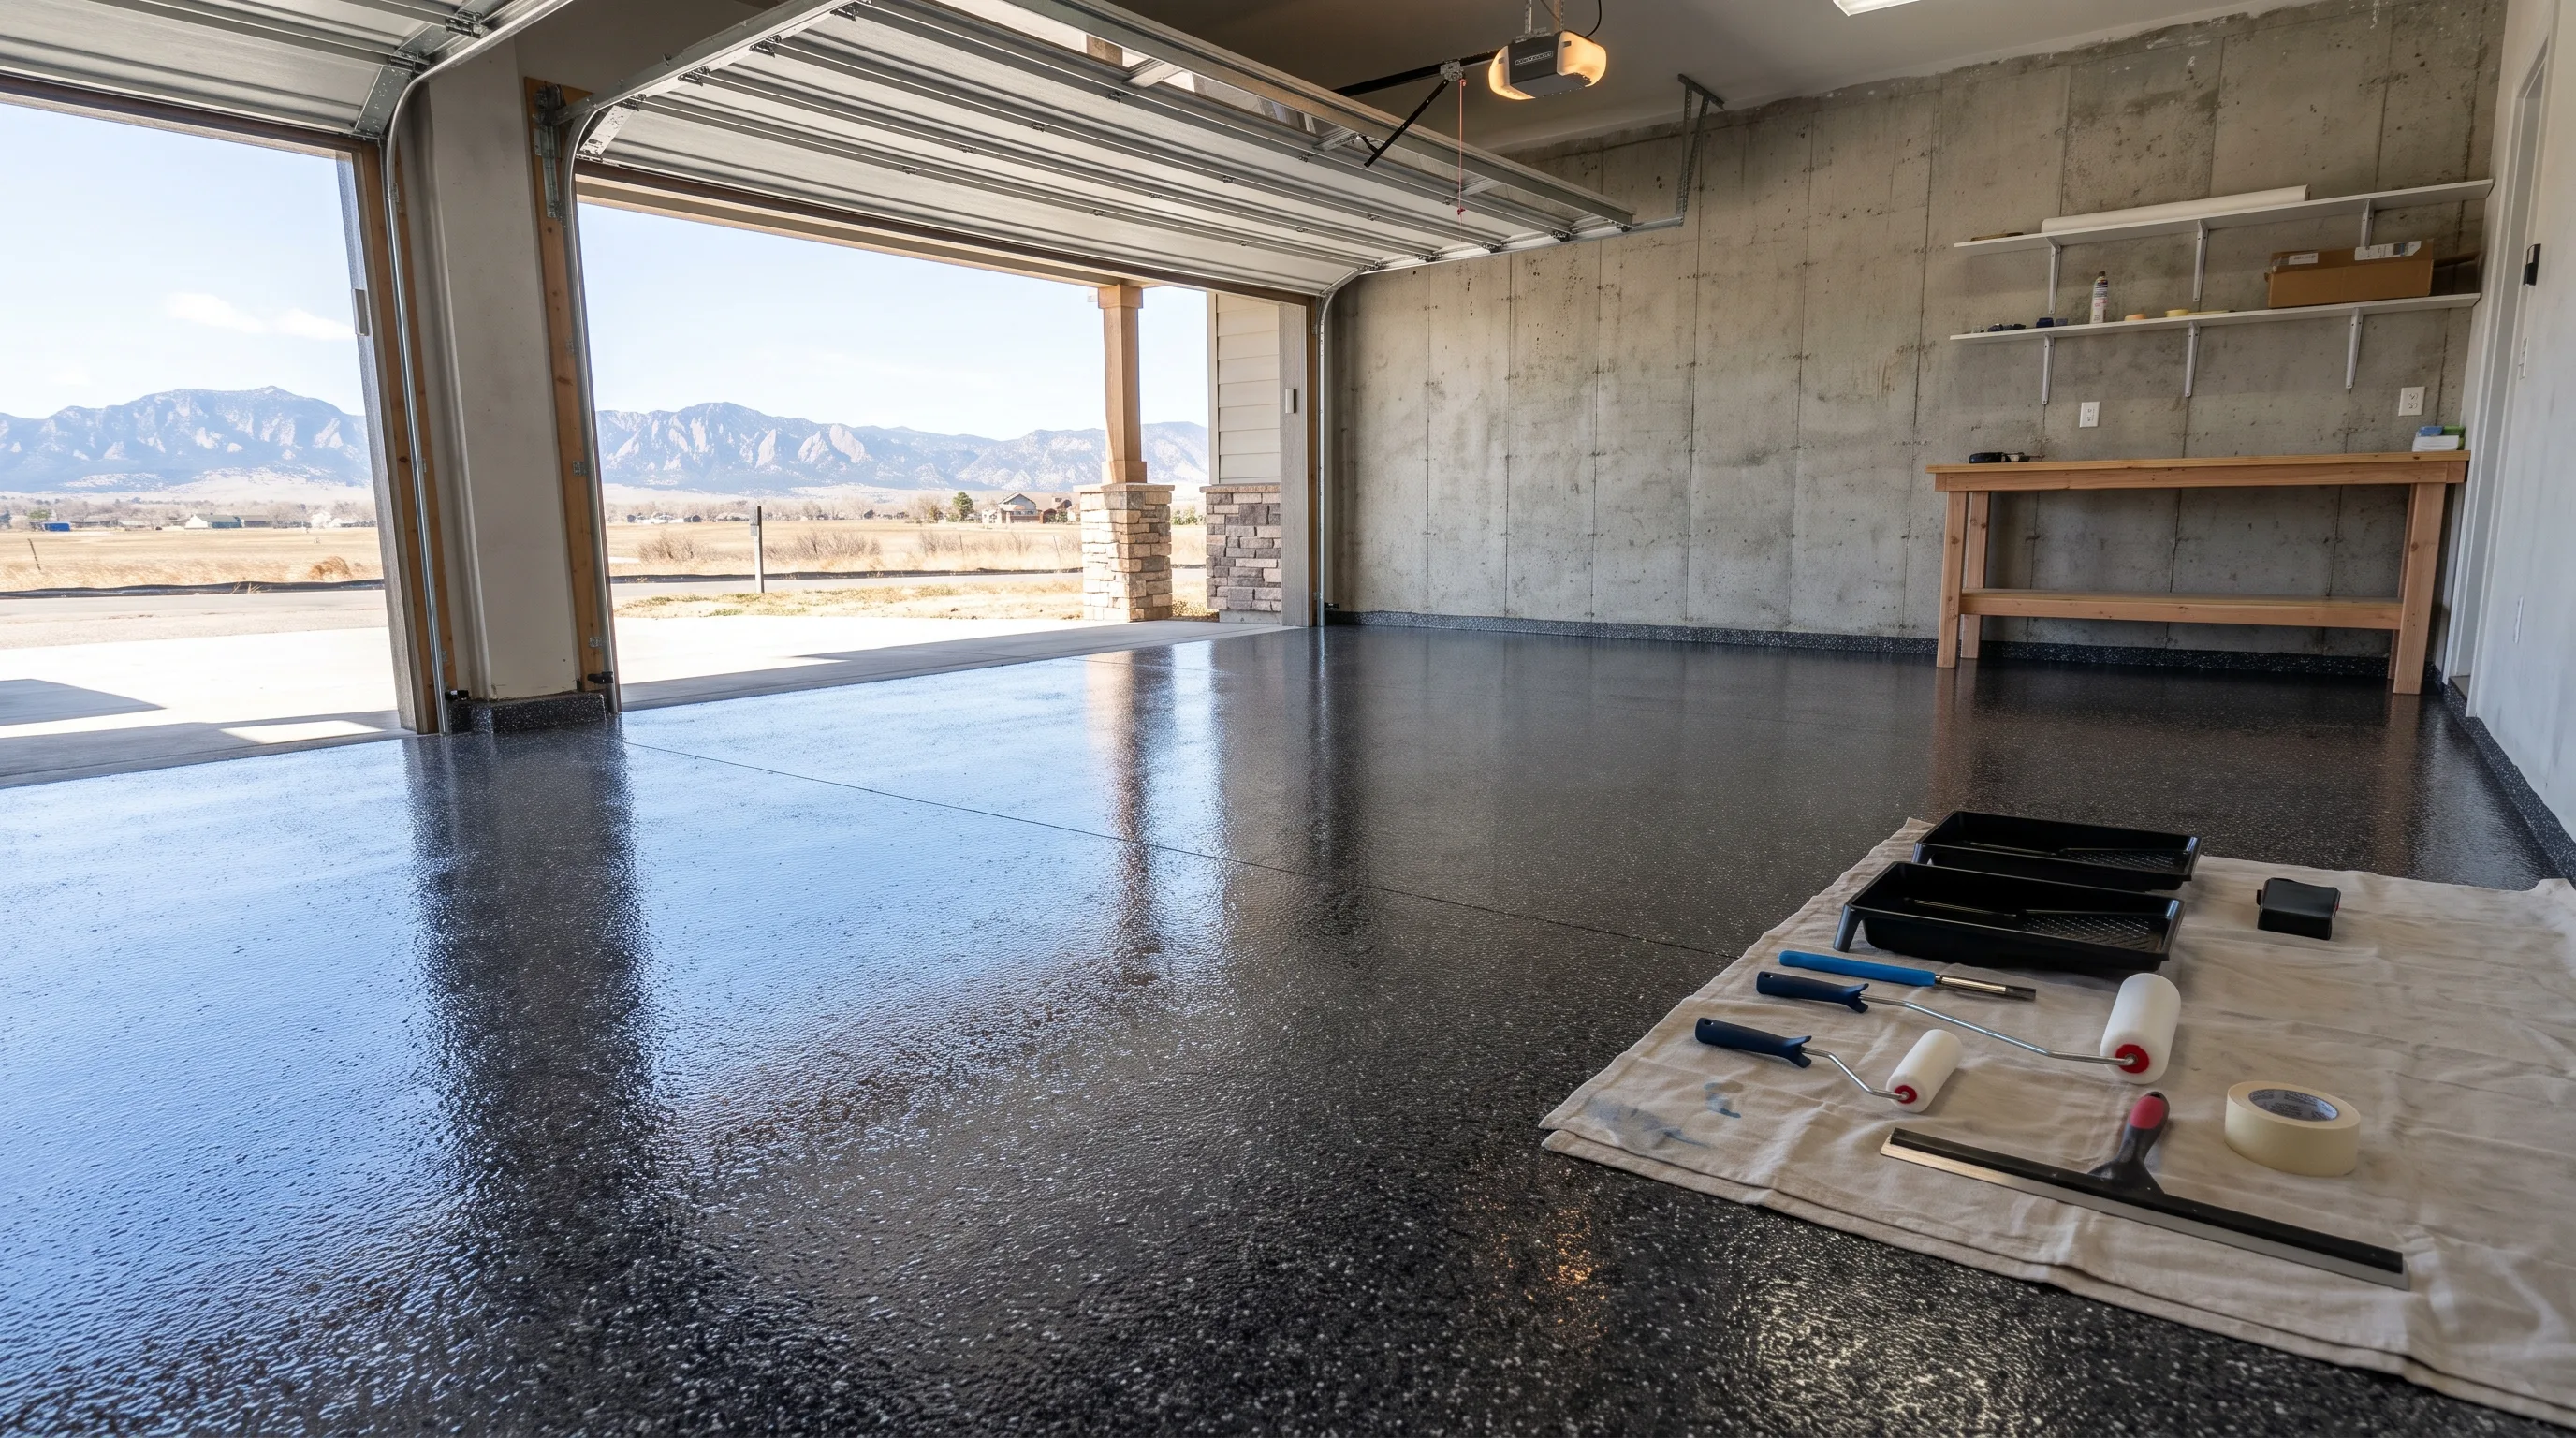
A completed two-car garage install — diamond-ground prep, flake broadcast, aliphatic polyaspartic topcoat.
Cost by Garage Size
Pricing scales with square footage and system, and Denver installs run slightly above national averages because of the mandatory UV-stable topcoat and the diamond grinding prep that Colorado's climate requires. Here's what to expect by garage size.
| Garage Size | Standard Flake System | Metallic Epoxy |
|---|---|---|
| 1-Car (~250 sqft)Diamond grind + polyaspartic | $1,000 – $1,750 | $2,000 – $3,750 |
| 2-Car (~450 sqft)Diamond grind + polyaspartic | $1,800 – $3,200 | $3,600 – $6,750 |
| 3-Car (~650 sqft)Diamond grind + polyaspartic | $2,600 – $4,550 | $5,200 – $9,750 |
| Crack & Spall RepairAdd-on if needed | Assessed on-site, typically $200-$800 | |
Common Installation Mistakes That Shorten Floor Life
Most epoxy garage floor failures in Denver trace back to one of a handful of shortcuts taken during installation — and because epoxy looks glossy and finished on day one regardless of what's underneath, these mistakes usually don't show up until a year or two later, well after the installer has moved on to the next job.
- Acid etching instead of diamond grinding. As covered above, this is the single biggest predictor of early delamination in a freeze-thaw climate.
- Skipping the moisture test. Applying epoxy over a slab with excess moisture vapor traps that moisture underneath the coating, causing bubbling, blistering, or full delamination — sometimes within weeks.
- Using a standard epoxy or urethane topcoat instead of polyaspartic. Non-UV-stable topcoats amber and chalk within a single Colorado summer. It looks fine in the showroom sample; it doesn't survive a Denver garage with any window or east-facing door.
- Coating over unrepaired cracks. A hairline crack left unfilled will telegraph through every layer above it and widen with each freeze-thaw cycle, eventually cracking the topcoat too.
- Rushing cure times at altitude. Lower air pressure at 5,280 ft changes epoxy pot life and cure rate. A crew working from sea-level cure charts will move to the next coat too early, weakening the bond between layers even if the surface looks dry.
Every one of these is preventable with the right process, which is exactly why the sequence matters more than any single product used. A garage floor installed correctly the first time, with Colorado-specific prep and materials, needs essentially no attention beyond routine cleaning for 15-20 years. One installed with any of the shortcuts above is a candidate for epoxy floor repair well before that.